You want your room to feel:

Exotic

Exotic is a mood that reminds you of adventure. Its the memories you bring back with you from vacation. Its the tropical scent of coconut. Like placing mementos from your travels next to old family pictures, its that thrilling feeling when the extraordinary becomes a part of your home.

Want to create a new mood?

To create an exotic feeling in your home, we recommend

FRUIT COCKTAIL

This fragrance excites your senses with its vibrant, tropical notes, bringing back memories of your adventurous travels.

Expert Insights

These tips will help bring to life the mood you’re looking to create in your home.
Kris Jarrett

Seek Global Inspiration

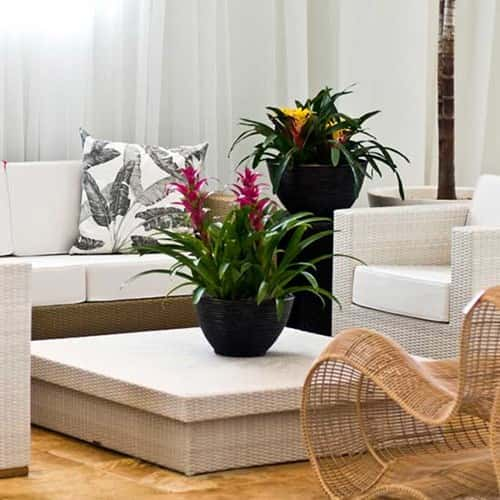
Bring a taste of the tropics into your home with an indoor palm tree or exotic plant with lush, large leaves such as an Amazon elephant’s ear. No room for a large houseplant? An African violet with its stunning pink or purple flowers is a perfect tropical beauty for smaller spaces.

A Surprising Touch

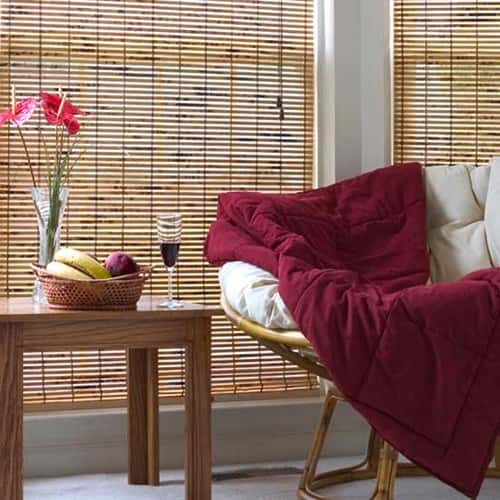
Add personality to your home by using a variety of different textures. Dried bamboo blinds and chairs, as well as chunky rattan weaves, will make your room more exotic and welcoming to touch.

Imported Adventure

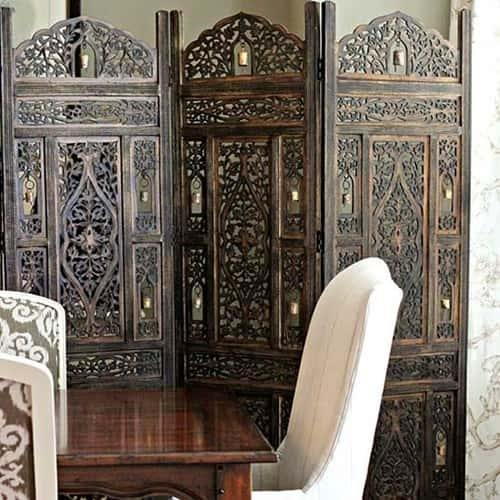
Do you have a passion for experiencing the sights, smells and sounds of faraway places? Bring colours and patterns with a global flavour into your home by using boldly patterned Turkish rugs, curvy Moroccan tiles or carved Asian-style folding screens.

Bamboo Centerpieces & Accents

Fresh bamboo makes anywhere look like an adventure. Grab a large vase and fill it with fresh bamboo stalks for your table or smaller vases for exotic accents throughout your home.

A River Runs In It

Place smooth pebbles at the bottom of your shower. The water dripping on the round stones and the feeling of them against your feet creates a sense of adventure to come.

Upgrading a Flat Door with Panel Moulding

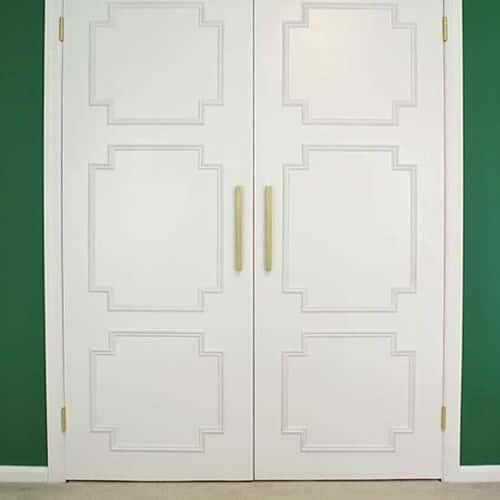
The transformation of unattractive flat doors into paneled stunners shows that adding little details can make a huge difference to the look and feel of your home. And since you get to decide on your own paneling design, you can create any type of look from classic box panels to more exotic patterns with a unique flair.

Supplies List:

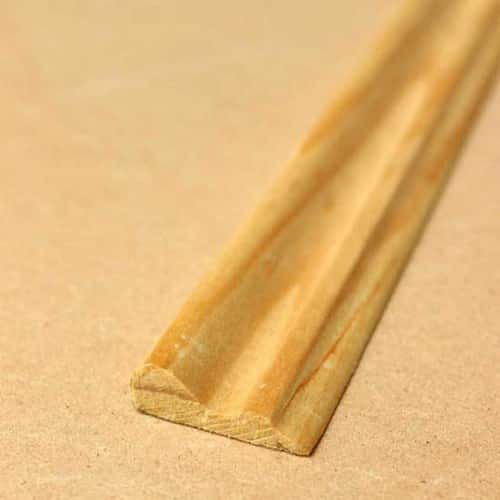
Low profile panel moulding (available at hardware and home improvement stores)

Miter box and saw

Spirit level

Tape measure

Fast-drying wood glue

Painter’s tape

Small brad nails

Hammer and drill

Wood filler, sandpaper, paintable caulk, and paint
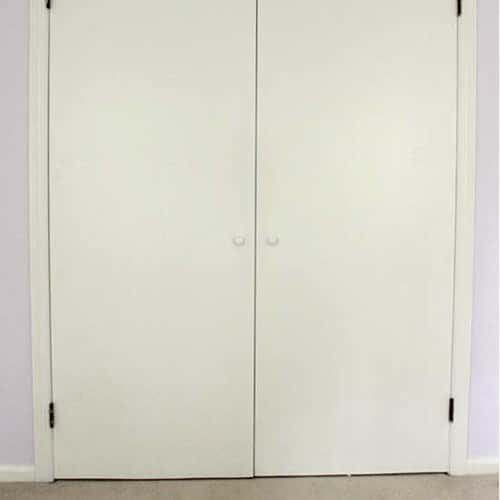
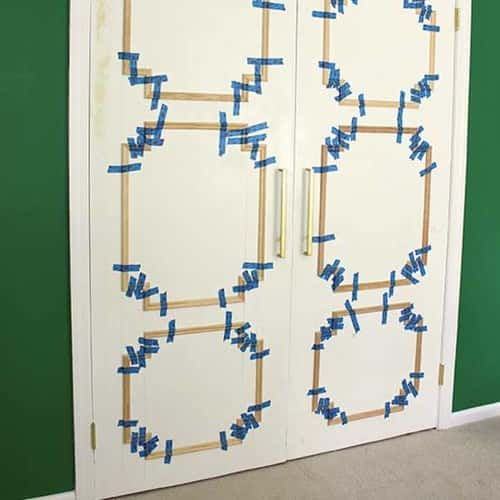
Before starting work on your project, you'll need to decide on the type of paneling pattern you wish to create on your doors. Once you've figured out a design, measure your doors and calculate how long each piece of panel moulding needs to be cut in order to create a centered pattern on your doors. Using a pencil, tape measure and spirit level, mark the spots on your door where your moulding pieces will go. To determine how much panel moulding to buy, add up the measurements of the paneling pieces that you'll need and then add on an additional 15% of material. There are many different size options for panel moulding but moulding that’s about 1” wide and has a flatter profile (between about 1/4” – 3/8”) works best for this project.

Now that you have your panel molding, use a miter box and saw (or an electric miter saw if you have it) to cut all of your moulding pieces to size. Prep your doors by lightly sanding them. Then use painters’ tape to tape each of the moulding pieces into place at the marked spots on your doors. Double check that all of your moulding pieces are level and aligned.

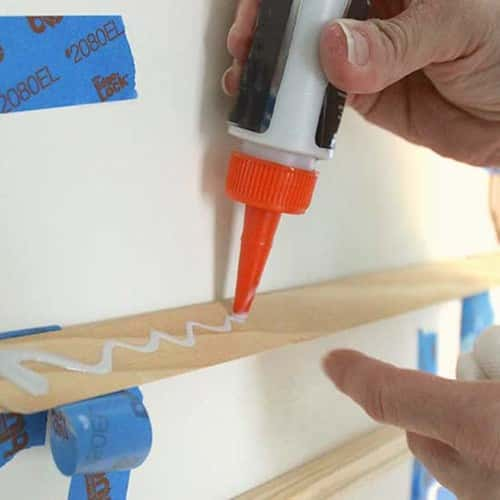
To adhere the moulding to the door, add a small line of fast-drying wood glue to the back of each piece, push it into place, hold for a few seconds, and then secure it to the door with painter’s tape. Wipe away any excess glue with a damp cloth. If you have any moulding pieces that won't lay flush on the door while the glue dries (due to warping of your door or the moulding piece), drill a tiny hole into the end of the piece that’s sticking up and lightly hammer a small brad nail into it until it lays flat. Pre drilling the hole before driving in the nail keeps the moulding from splitting.

Once all of your moulding pieces have been glued down and the glue has completely dried, the painter’s tape can be removed. If you needed to use any brad nails, fill those small holes with wood filler and sand them smooth.

The final step is to caulk any gaps between the moulding and your door and paint the entire front of your doors. Add new knobs or pulls and you've transformed your flat, unattractive doors into decorative paneled beauties!

Other Projects

Share Your Mood

I want my home to feel Exotic. Pass it along and help friends find the right mood for their homes.